
Overview
Getting your products and prices set up in Stripe is one of the most important steps to start accepting payments—whether you sell one-off items, digital downloads, or subscription services. This guide walks through the exact sequence you need to follow inside the Stripe dashboard and adds practical tips for naming, pricing, tax codes, and recurring billing.
Quick checklist
- Create a Stripe account and sign in.
- Open the Product Catalog from the dashboard.
- Create a product: name, description, image, tax code.
- Choose pricing: one-off or recurring, select currency.
- Review and add the product so it can be used in checkout or payment links.
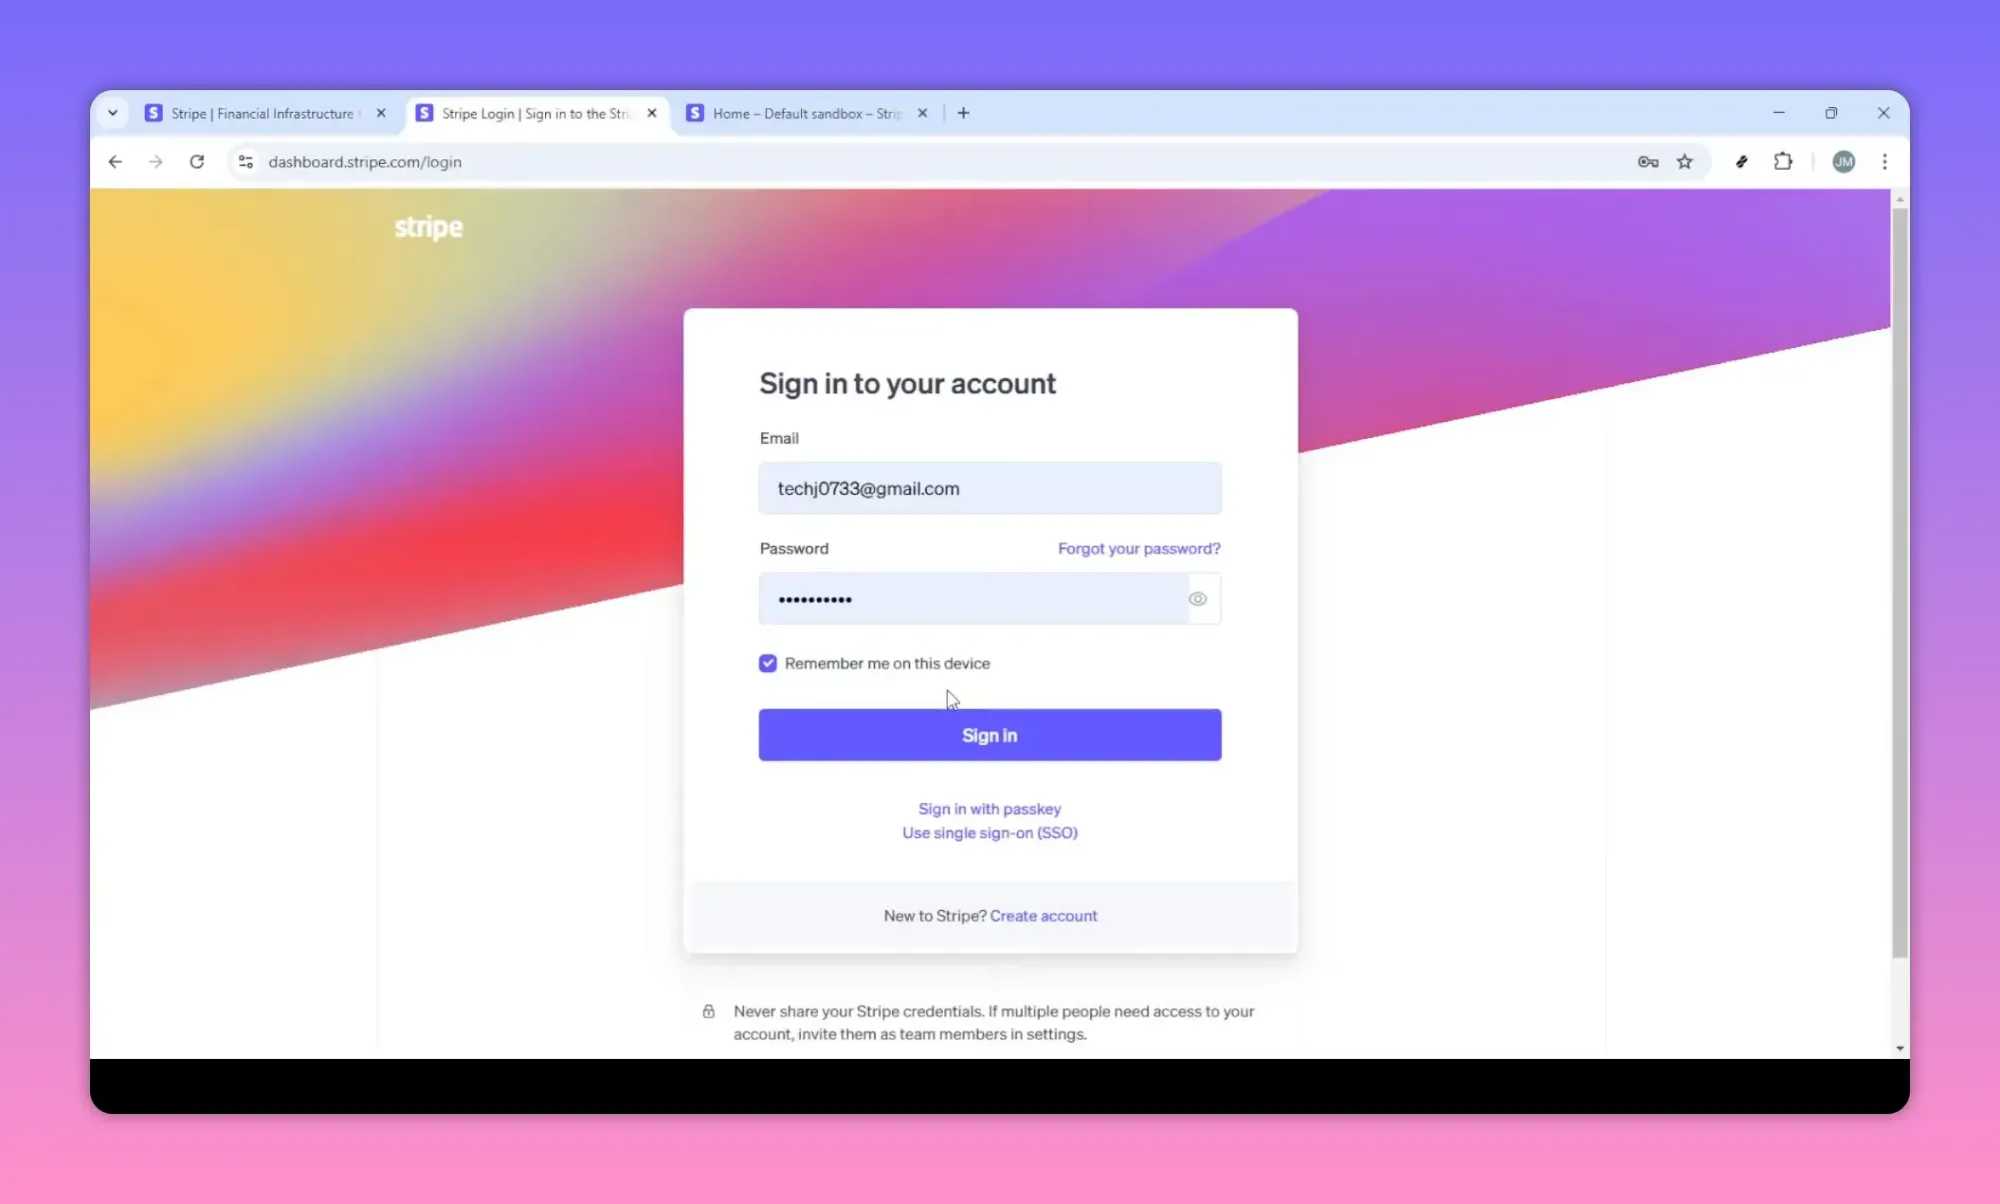
Step 1 — Sign in to Stripe
Start by signing into your Stripe account using your email and password. If you don’t have an account yet, set one up first to access the full product and pricing features.
Step 2 — Locate the Product Catalog
After signing in you’ll land on the dashboard. The Product Catalog is where you manage all product-related details. Open it to view existing products or to add new ones.

The catalog shows a list of products and prices. Each product can have multiple prices (for different currencies or billing intervals), which makes it easy to run subscriptions and one-time purchases from the same product entry.
Step 3 — Create the product
Click Create product to open the product form. The key fields to complete are name, description, image, and product tax code.
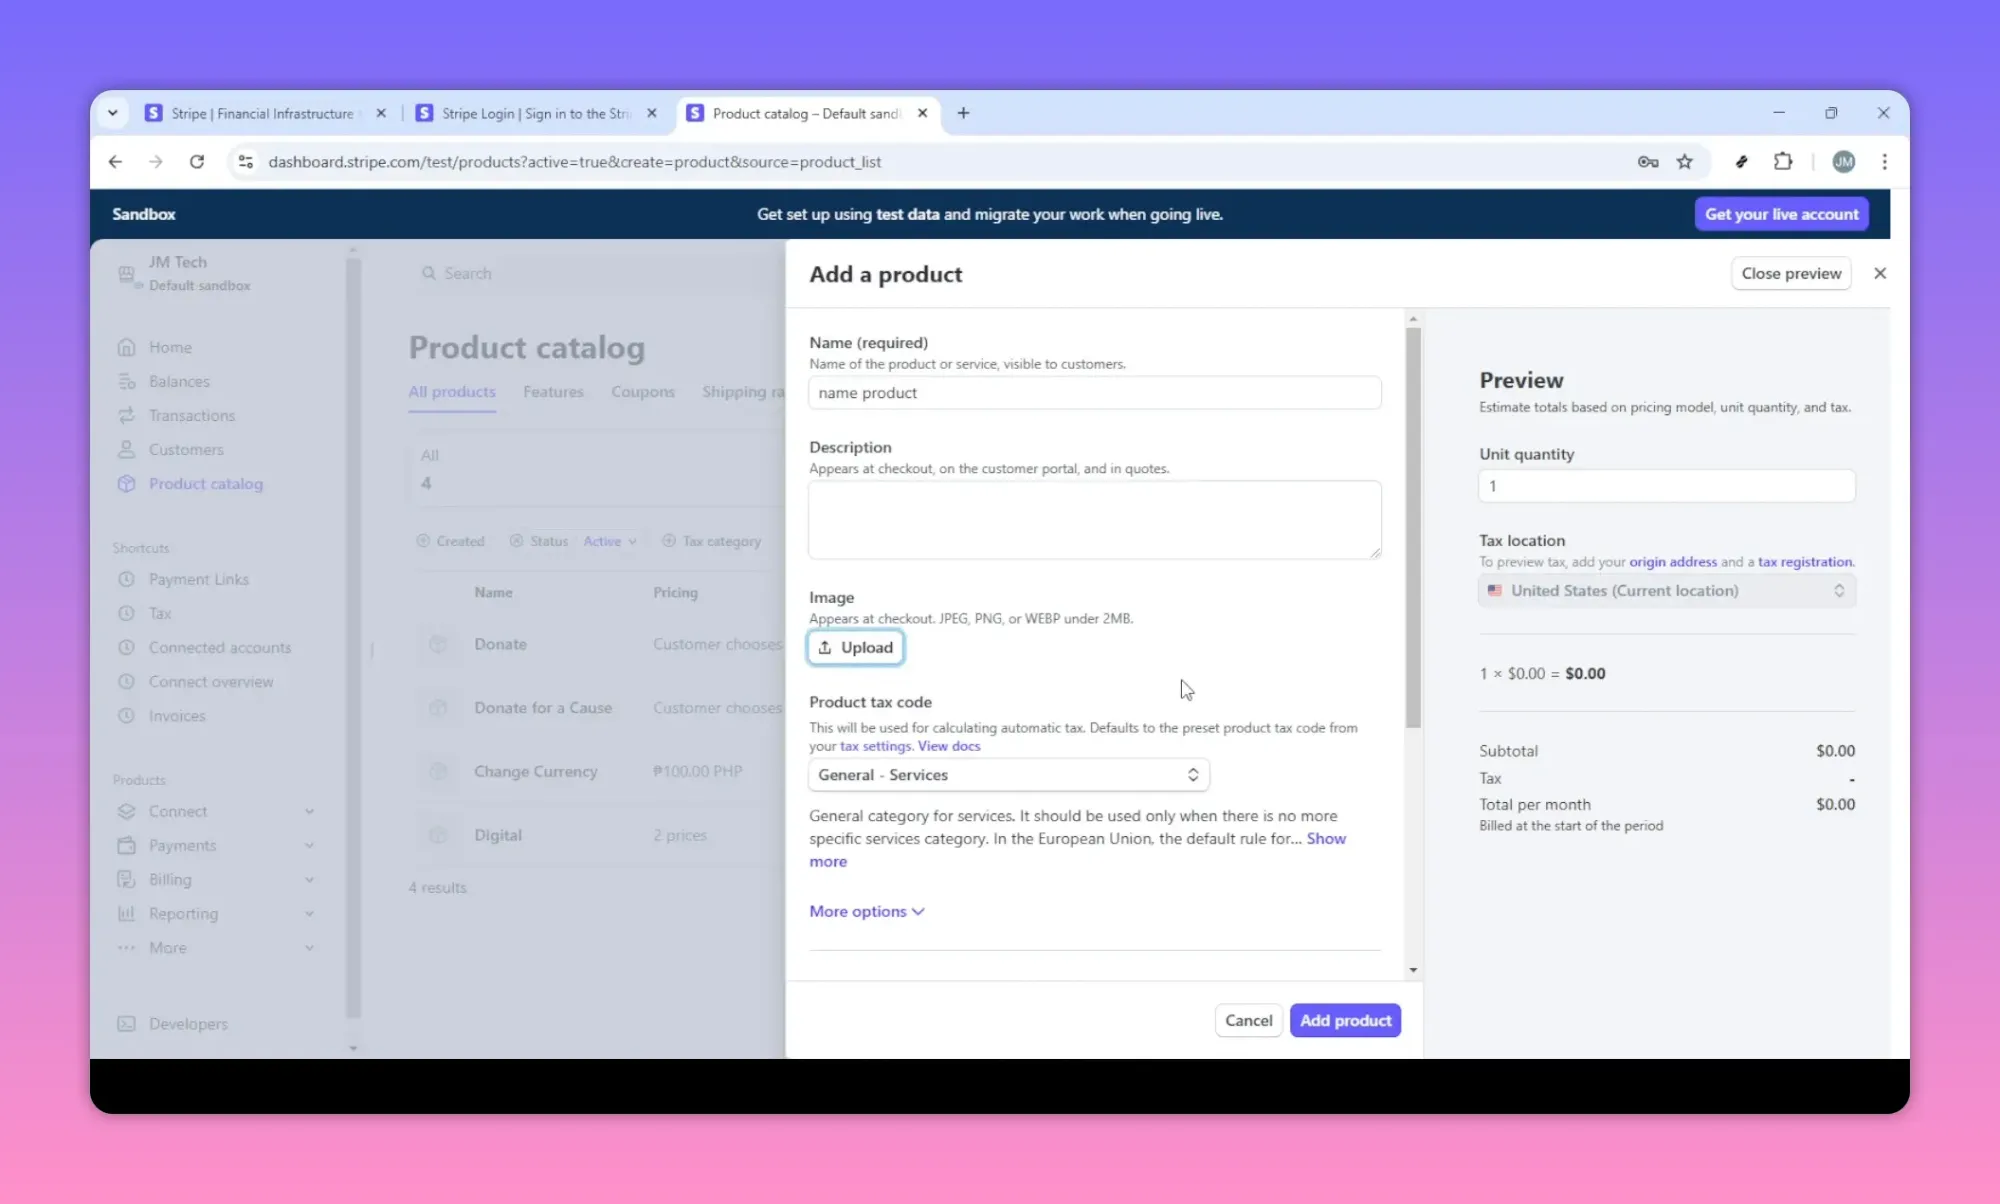
Product name
Use a clear, searchable name that customers will recognize on receipts and invoices. Keep it concise and specific.
Description
Use the description to highlight what makes the product valuable. This helps internal teams and can be surfaced in some checkout experiences.
Image
Upload an attractive image. Visuals improve conversions and help customers confirm what they are buying.

Product tax code
Select a product tax code if your product falls into a specific tax category. This ensures taxes are calculated accurately where required.

Step 4 — Choose pricing model: recurring or one-off
Decide whether the item is a subscription (recurring) or a single purchase (one-off). This choice determines the billing logic Stripe will use.
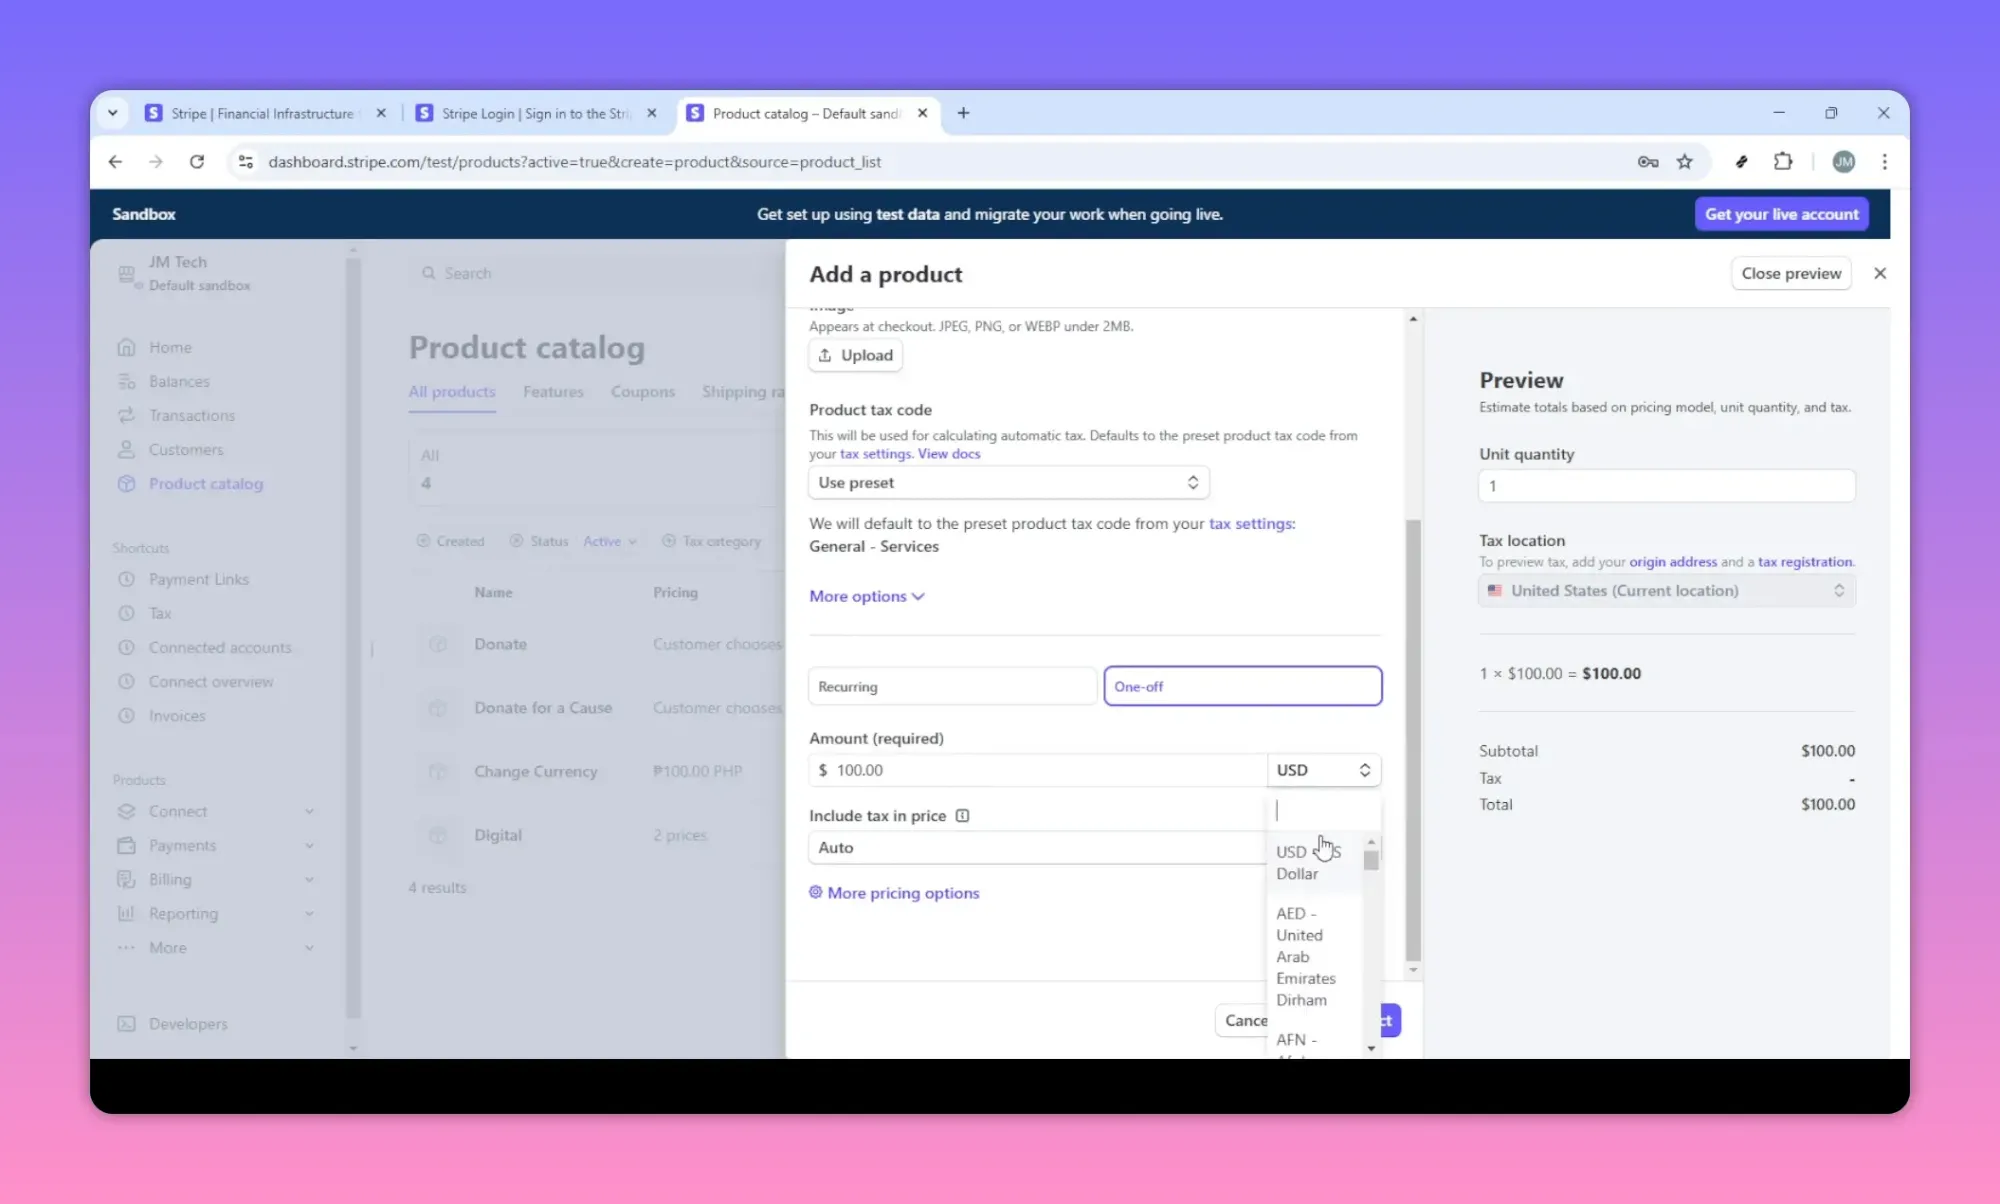
- Recurring: Set billing interval (monthly, yearly, custom), trial period, and any proration or billing cycle anchor behavior.
- One-off: Set a single price that will be charged once at checkout.
Step 5 — Add price and select currency
Add a price for the product and pick the currency. You can add multiple prices for the same product to support different currencies or different billing plans.
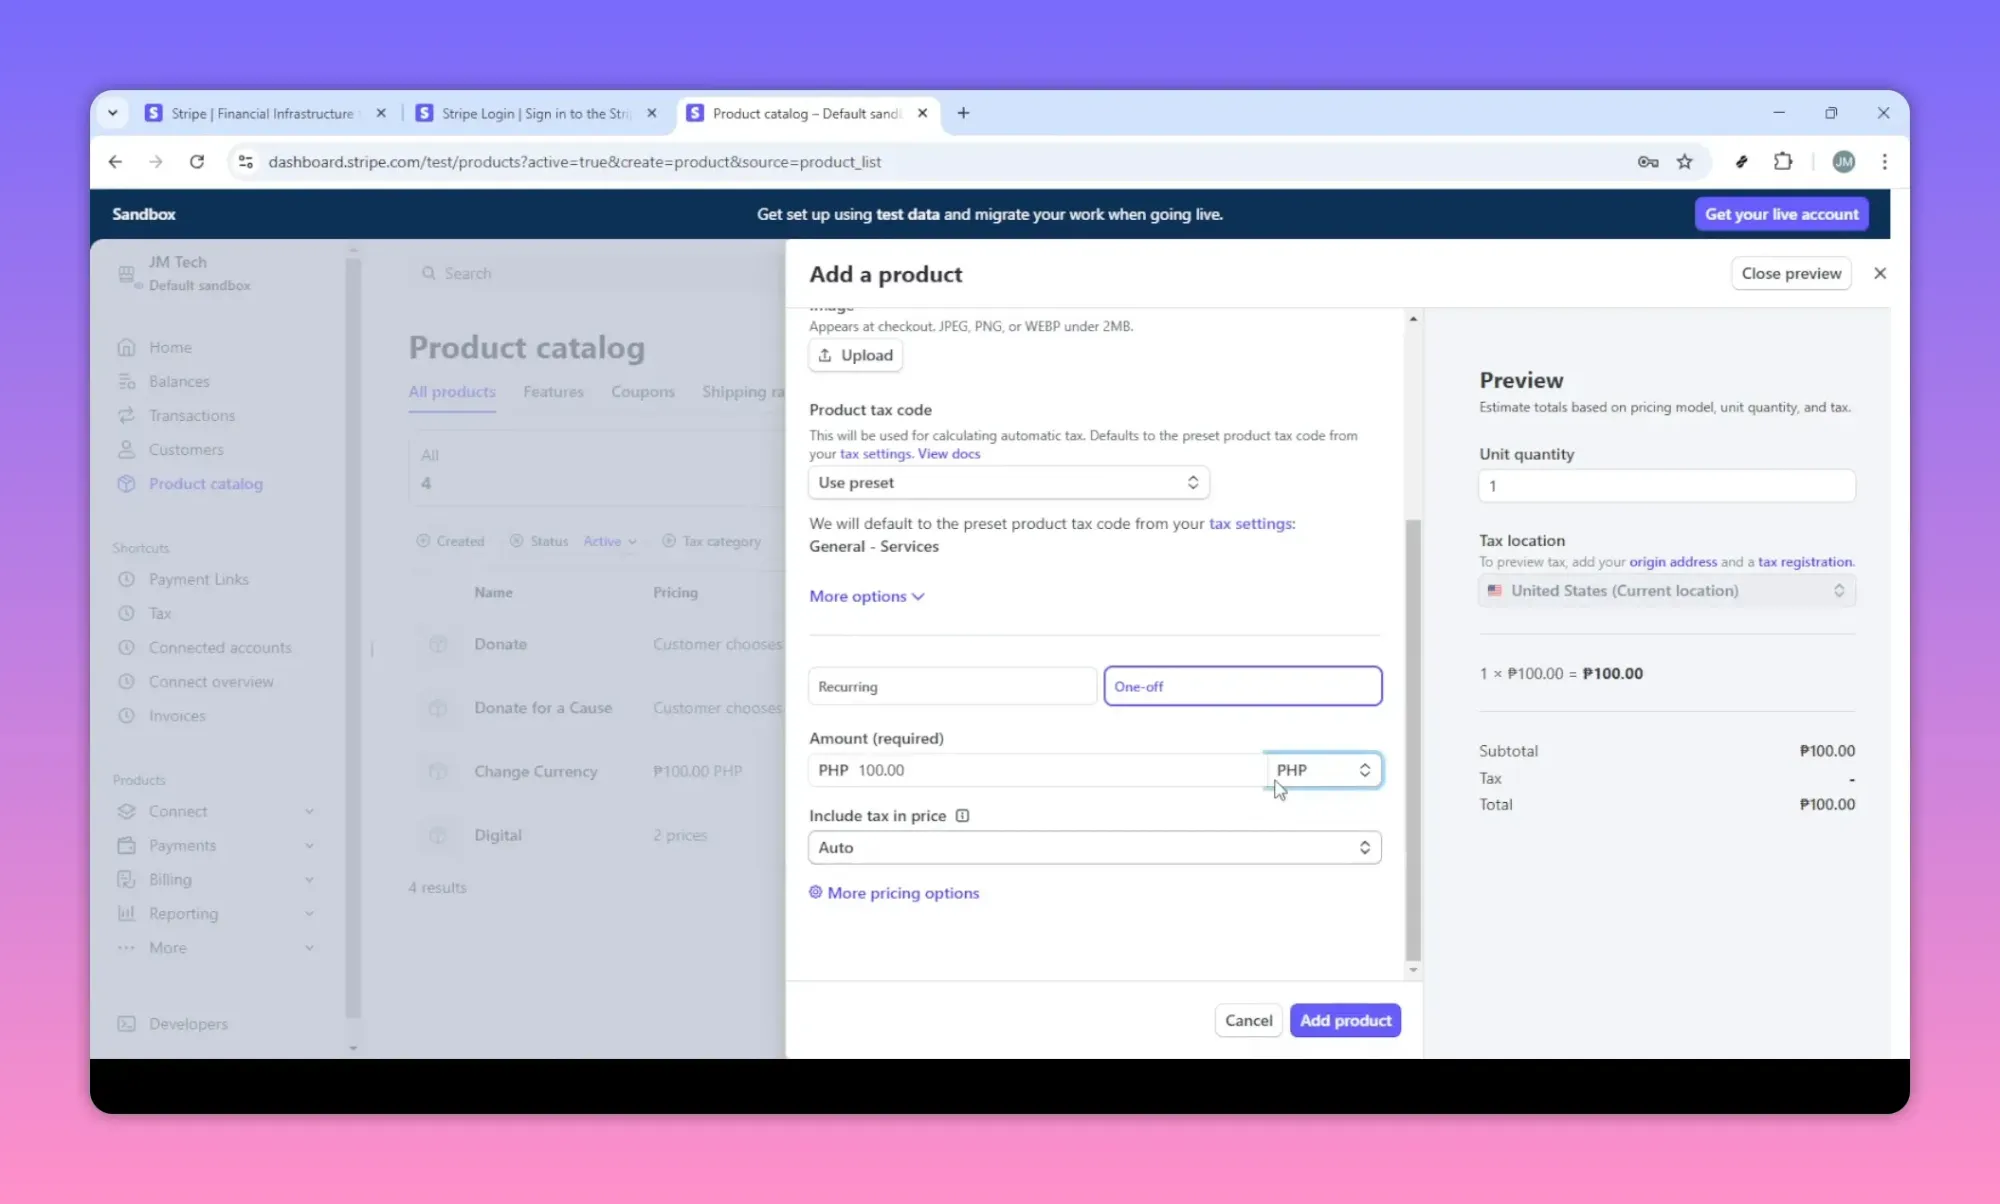
Make sure the price reflects your value and market standards. If you plan to serve international customers, add local-currency prices to reduce friction.
Step 6 — Review and add the product
Double-check the name, description, image, tax code, pricing options, and currency. When everything looks right, click Add product to save it to your catalog.

Once added, prices are available for use in Stripe Checkout, payment links, invoices, and the API.
Practical tips and best practices
- Naming conventions: Include product type or tier in the name (for example "Pro Plan — Monthly") so price lookup is simple in reports and automations.
- Descriptions: Keep them short but useful. Mention billing cadence for subscriptions and any included features.
- Image guidelines: Use clean, high-contrast images that clearly represent the product. Square or landscape images work well for checkout previews.
- Tax codes: If unsure which code applies, consult your accountant or Stripe’s tax resources to avoid compliance issues.
- Multiple prices: Create separate prices for trial vs. regular billing, or for different currencies, rather than editing existing prices—this preserves historical billing records.
- Use price IDs when creating payment links, Checkout sessions, or API requests so you always reference the exact billing option.
Common scenarios
Adding a promotional price
Instead of changing an existing price, add a new price for the promotion and retire it later. This preserves data and avoids confusing active subscriptions.
Switching a customer from one plan to another
Use the subscription update flow in Stripe to switch prices and choose whether to prorate charges. Test the behavior in test mode before applying live.
Closing notes
Setting up products and prices in Stripe is straightforward once you know the steps: sign in, open the product catalog, create a product, choose the right tax code and pricing model, and add the price in the correct currency. Following naming and pricing best practices keeps billing predictable and reporting clean.
With accurate product listings, you’ll be ready to accept payments via Checkout, payment links, invoices, or API integrations and handle transactions smoothly.